|
Examina
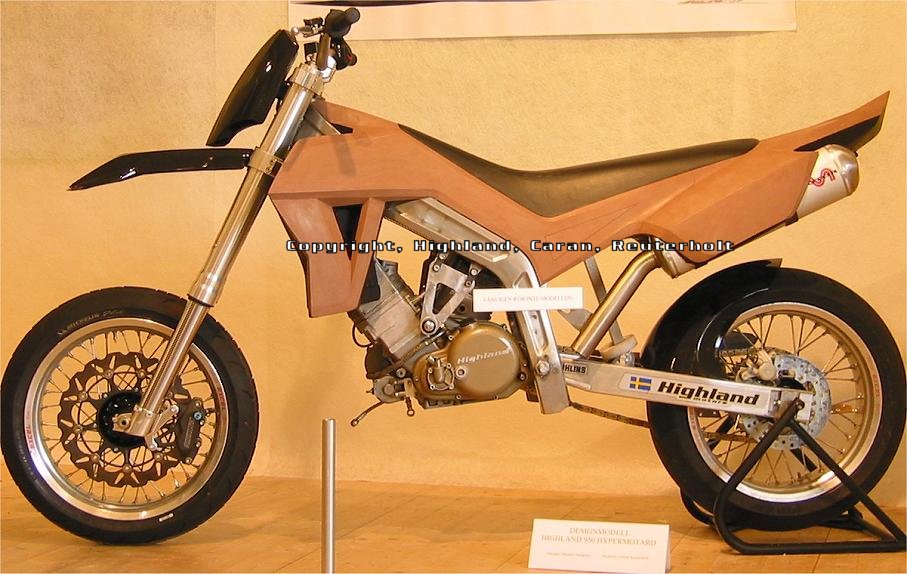
project My examina
project at the design modeling school Formakademin in Sweden was again
All images
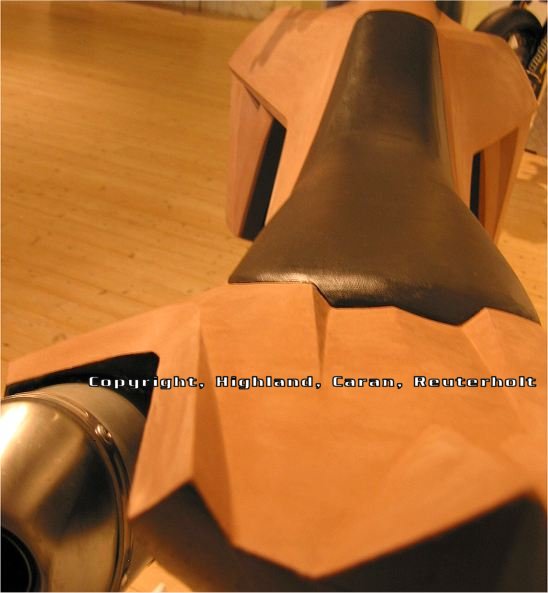
are property of Caran / Highland / Reuterholt The examina
time was 10 weeks, but due to circumstances out of my |
||
 |
||
|
|
||
|
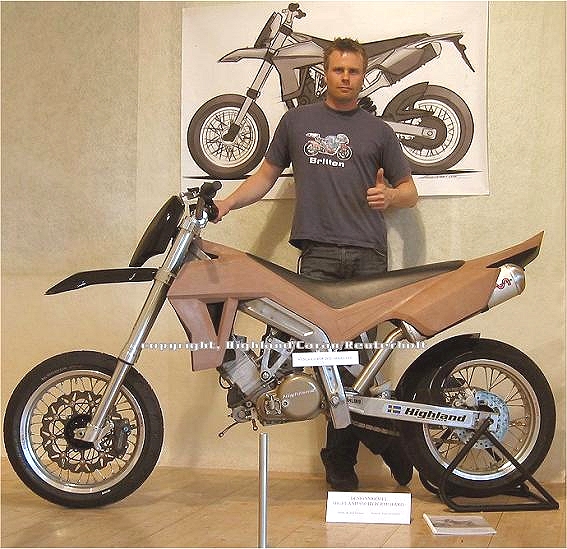
My examina project was given the highest degree possible at my school,
Pass with special distinction. Thank you for looking.
Copyright 2012: Reuterholt.se |