|
As part
of my clay modelling education I had 11 weeks of learning practise during
2006. The images
show different stages and no stage is complete unless stated. |
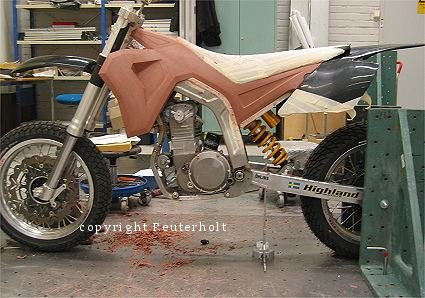
| The bike during the modeling process. |
 |
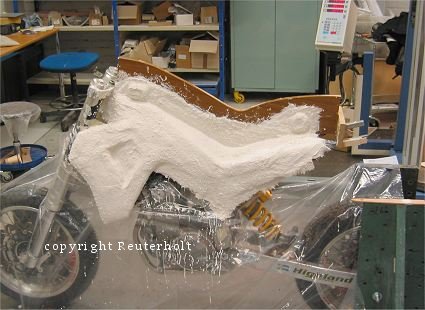
| Mold making in Polydur. |
 |
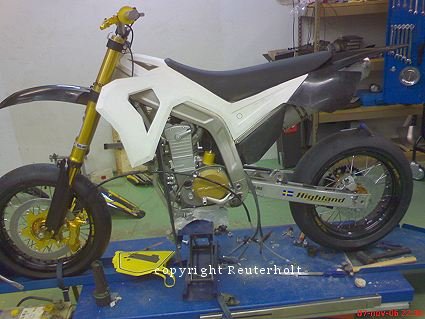
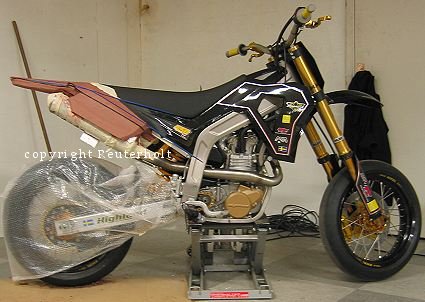
| 48
hours to go before the bike had to leave for Italy, the fibreglass laminate
sits on the actual prototype for the fist time. Painting etc is still left to do, which I unfortunately did not do due to prior arrangements, my knowledge in painting is good. |
 |
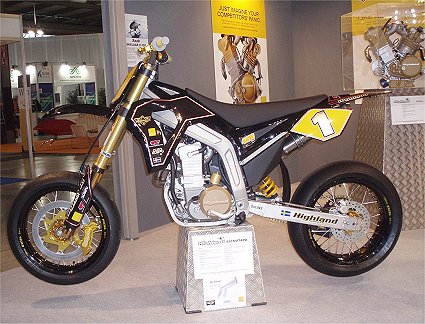
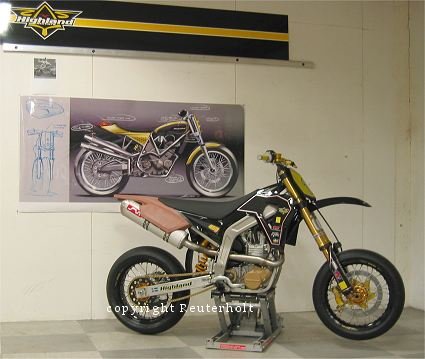
| This is how the prototype looked in the Higland / Caran stand at Eicma. |
 |
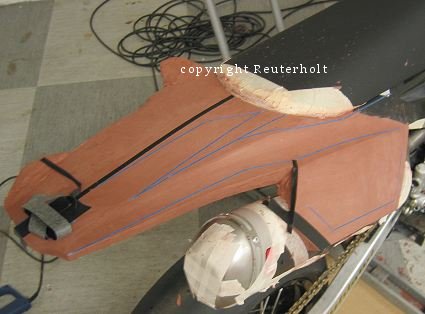
After Eicma it was decided to make a new rear fender and side panel. For this I worked without a designer and followed instructions from the people at Highland. Below is how it looked during the first stage. |
 And the next day we changed it a bit. 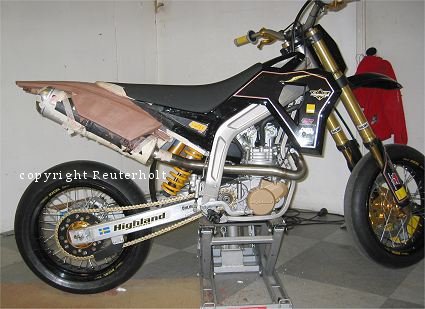 |
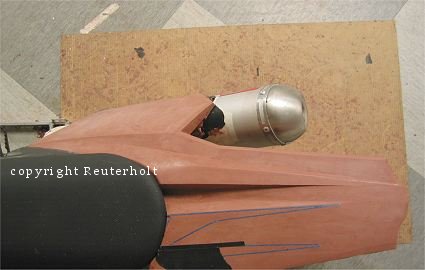
| I presented my ideas for shapes and features with tape on the fender. |
  |
| This is how the bike looked just before
christmas of 2006. The clay work is finnished and will be 3D scanned. |
 |
|
That was a quick summary of my skills in clay modelling, I hope you
like what you see. Thank you for looking.
Copyright 2012: Reuterholt.se |